Tuesday, 7 May 2013

Movie Trailer: Exporting


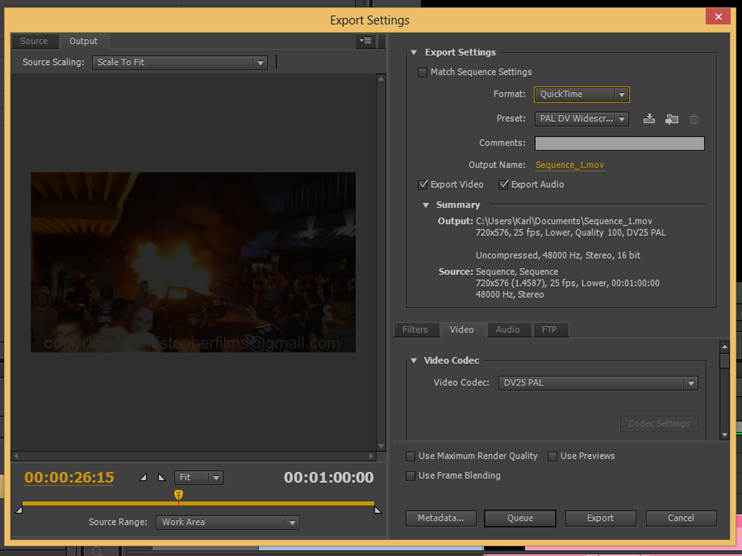
File > Export will bring up the following window.

image

Make sure the format and video format are correct, you can also chose to scale to fit from this screen.

This may be a long process depending on how much of the project Premiere has pre-rendered in the background.

Movie Trailer: Titles and Animating in Premiere


I added the two certificates and a title to the end of the trailer, Titles are a great way to add text as the text is extremely customisable and can be used various ways.

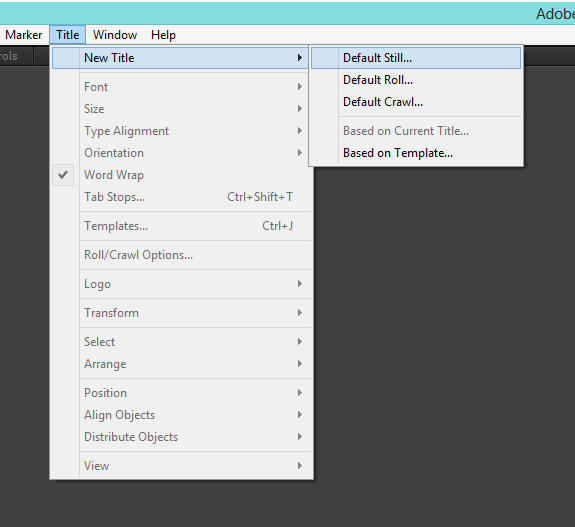
To add a new title go to the item shown below.

image

The next endow will then appear, customise the title’s properties until you are happy, when you confirm the title will be added to the project.

image

The title can then be added to the timeline in the same way as an image or video clip.

image

I then added the title to the end of the timeline and proceeded to add the movement.

image

This is basically a simplified version of how objects are manipulated in After Effects, I marked the position I wanted the items to start with and the position I wanted the objects to move to with key frames on the Effects Control panel.

Movie Trailer: After Effects Animation


To create the ending animation of my trailer I used Adobe After Effects, After Effects is a video  this is rather complex so I will not cover every aspect of the software, but I will explain the methodology of designing this animation.
image

image

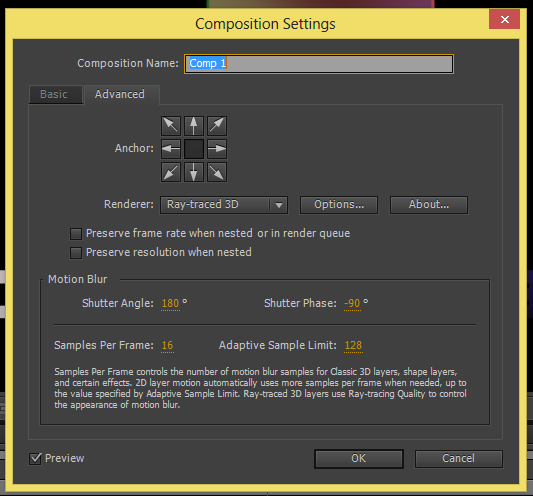
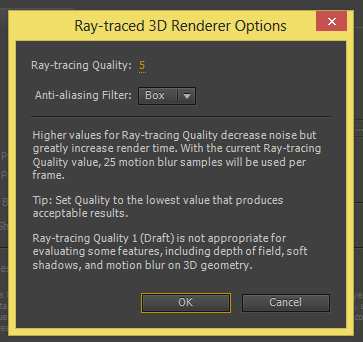
Once a new project is opened it is important to change the renderer to Ray-traced 3D as this allows more options when manipulating shapes.

The rendering quality should be set to 1 or 2 while the project is being worked on, this will give better performance while editing, then for the final render increase it to somewhere between 5 and 9 for greater quality.
image

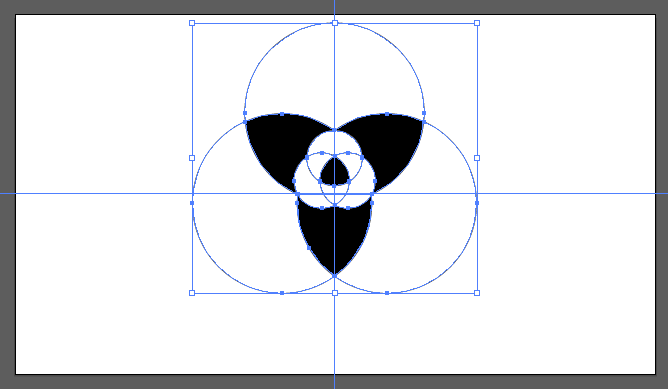
The crop circle logo design would be imported into After Effects, but it’s easier to edit the vector before importing than edit it while it is in After Effects, so I made a new Illustrator canvas at 720p resolution and prepared the ai to where I wanted it to be on the animation.

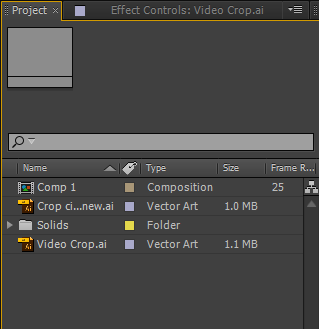
After importing the Illustrator file vie file > import you will see it appear on the project panel, drag it down onto the timeline.
image

image

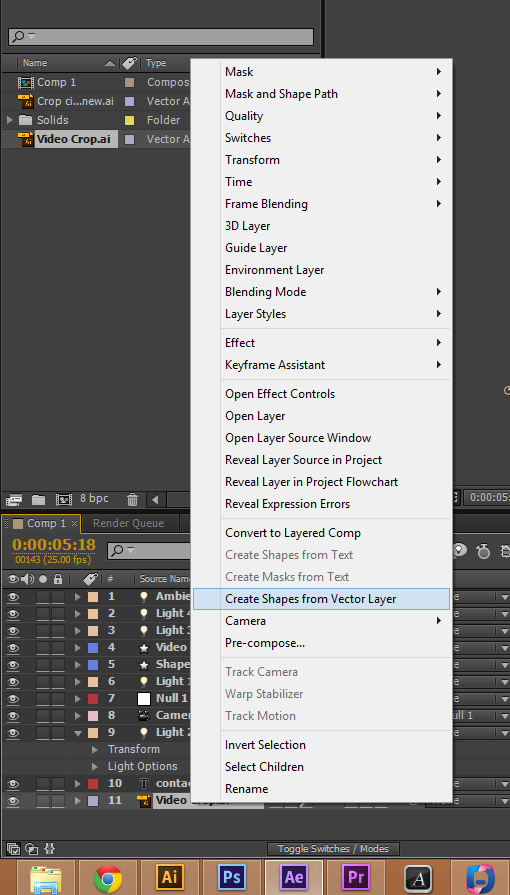
To make this manageable right click and select Create Shapes From Vector Later, a new item will appear and the .ai can be removed.

image

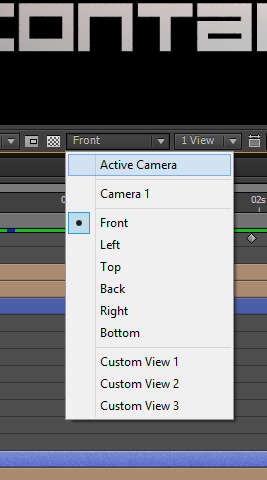
clicking the icon circled will enable 3D prosperities, these are categorised under Geometry Options, edit these as desired, you can change the viewing angle of the shape as shown below.
image

After this step I added the text, with the tool shown below, this works as you would expect, I didn't;t add any 3D effects to the text as it is only viewed from the front.

image

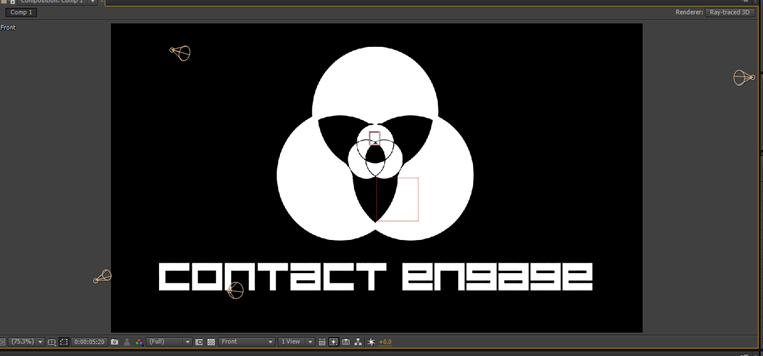
Once I had everything laid out the way I wanted I proceeded to animate, This is done with key frames, all the properties of shapes are editable as shown below, moving the current time indicator and pressing the icon next to the property locks that property onto that frame,

For example the Scale of the logo is set to 100% at around two seconds and 0% at the very beginning, this causes the logo to increase in size over the time specified.

imageimage

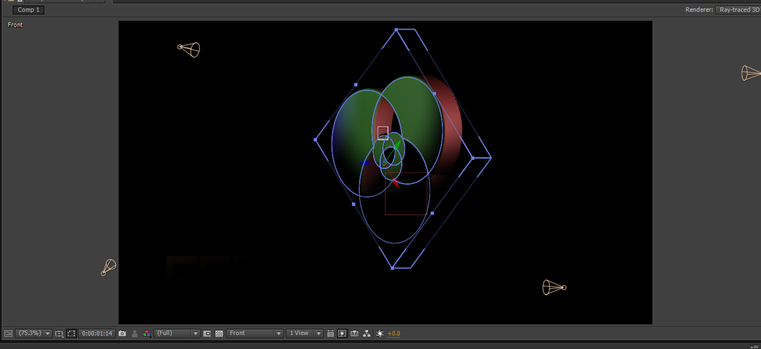
The colour was added with animated lights, lights can be added via Layer > New > Light there are a few different types of light, the majority I used were spotlights with various colours.

These lights were animated in the same way as the logo only changing aspects such as position, brightness, point of interest and cone angle.

The lights can be seen below.
image

image

At the end of the animation the objects are both made bright white, this was done by animating the brightness of an ambient light, ambient lights have no physical position, they simply light up everything on screen.

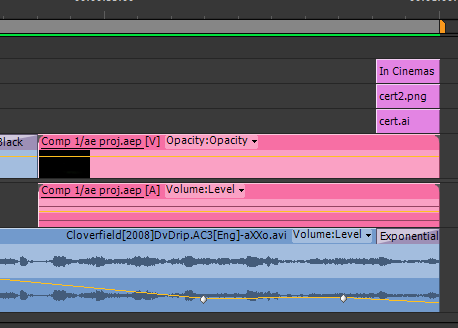
The animation was then imported to Premiere, newer versions of Premiere and After Effects support a feature named “Dynamic Link” which allows premiere to import an After Effects project file without it being rendered, this means that the animation can be added to a sequence in Premiere and still be edited in After Effects. If this animation needed to be in another software it would have to be rendered and exported as a video file.
image

Movie Trailer: Pen Tool


When video and audio is placed onto the timeline, there is a yellow line over the video and audio, on video this line represent brightness and on audio tracks it represents volume.

These lines can then be moved up or down with the selection tool, or they can be modified with the pen tool. The pen tool lets the user add and manipulate the line by points, you can see towards the end of my video I increased the volume greatly to increase volume of a crash, if you hold alt while manipulating a point it is possible to curve the line.

image


image

Monday, 6 May 2013

Movie Trailer: Opening


image

The first ten seconds of the video uses the opening animations from Cloverfield and the audio from a YouTube video that I downloaded as an MP3, it’s worth noting that a lot of the video in this project is upscaled by right clicking and selecting scale to frame size.

I use an Exponential Fade at the beginning of the audio track.

The opening video is set to 350 % speed to fit it into the one minute time limit, this menu is accessible via right clicking and “speed / duration”

image

Movie Trailer: Transitions


Adding a transition between same video clips is essential to provide the viewer a good experience, and they are simple to add.

Video Transitions

There are a lot of video transitions available in Premiere, but only a small amount are used in most cases, these are under the dissolve menu

image

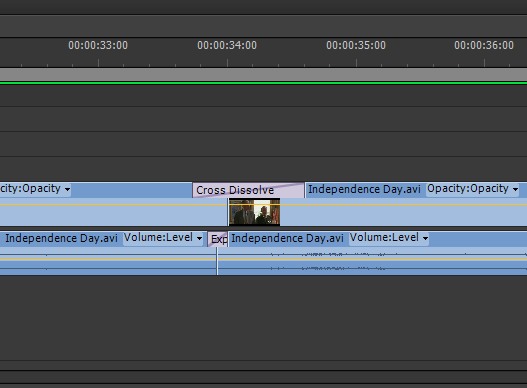
In my project I used Dip to Black and Cross Dissolve, dip to black fades the screen to black and then fades back to the next clip, Cross dissolve overlaps the two clips and adjusts the transparency by frame..

To apply a transition simply drag it onto the timeline and resize it accordingly.

image

Audio Transitions

Sometimes the audio between two clips can vary greatly, in this case it is crucial to have an audio transition to “blend” the tracks.

There are only 3 types of audio transition so any more adaption would have to be done through audio effects or another application such as audacity.

Application of the transitions works the same as it does for video transitions, in my project I used Exponential fade (this is only used at the beginning and end of a sequence to fade in and out) and Constant Power to bridge the gap between a loud and quite scene.

image

Movie Trailer: Video Layout


When it comes to inserting video, it is impractical to edit the entire video from within the timeline,, so instead it is possible to trim source video and save the clips into the library. this process is fairly simple.

First double click on a piece of video in the media library, you will see the entire video pop up in the preview window.

image

it is then possible to scrub through the video and find the segment that you want, once you find what you want mark it in and out with the buttons below.

image

You will see the selected area highlight blue

image

If you are happy with your selection you can drag it straight into the timeline or save it to the library for later.

It is possible to “fine tune” the selections once they are on the timeline with the Razor or Ripple tool, the razor tool breaks a video clip into two wherever you click, the ripple tool does the same thing, but will automatically delete one side of the clip, these tools are essential when working to short time constraints.

Note: it is possible to cut video and audio separately, simply right click and select “unlink”.

image

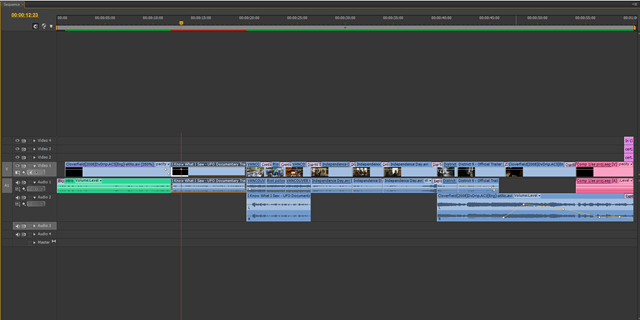
Complete Timeline

image

(click to see full size)

Movie Trailer: Importing and Organising Media


Once all of the source media is downloaded it needs to be copied into Premiere, media is stored in folders called bins, to create a new bin, click the button below.

image

create the necessary bins, then import all source media, this can be done by file > import, or just dragging in files from windows explorer of finder.

Remember to add any media you want in your project, premiere accepts all sorts of music and picture files aswell as videos, it also accepts .ai and .psd files.

Movie Trailer: Downloading Source Media


I already had some stock video that I showed in an earlier post, but these were not compatible with premiere, so I converted them with MPEG Streamclip, this application allowed me to convert the media into a format that was pomatable with Adobe Premiere.

image

The majority of the video was downloaded from YouTube using the Easy YouTube Video Downloader extension for Firefox

image

I generally downloaded the video in mp4 at 480p, ideally all video should be in 720p but a lot of videos were only available in 480p or lower.

Movie Trailer: Setting Up The Project.


The first time Premiere is started this screen appears, to start work start with a click on new project.

image

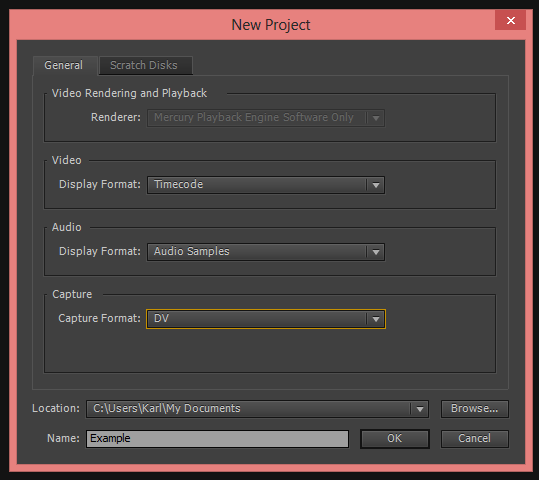
The following window will then appear, I have to create a DV video, so I chose DV on the Capture option, the rest is left as default, then switch to the Scratch Disks tab/

image

The scratch disc is an area where premiere will store the files that make up your project, this can take up a lot of space and needs to be fairly fast for Premiere to run smoothly.

For this reason the scratch disc should not be set to a flash drive (with the exception of USB 3.0 flash drives) as this would make Premiere run extremely slow.

Professionals would have a separate high speed mechanical hard drive dedicated to this task, either connected internally by SATA 3, or externally via a Thunderbolt connection, I set my scratch disk to an internal storage drive (not the one my OS uses) but as I also store other things on this drive, I made sure I made a folder for the Scratch Media.

image

Then I had to pick a presets, presets set up a lot of complicated settings such as frame rate and resolution automatically, I chose DV – PAL widescreen.

image

Once the the project is opened you will see the following screen the bar circled is the duration of the sequence, so make this as long as you want the video to be, in this case one minute.

image

The next step is adding source material.

Sunday, 5 May 2013

DVD Label: Text


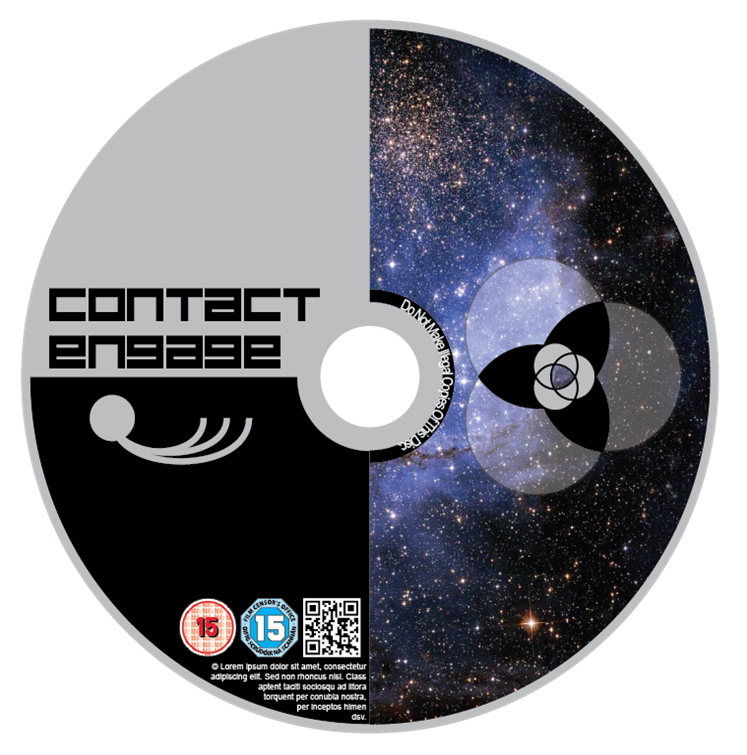
The text at the bottom of the label is just some placeholder text, this is where copyright information would be stored to align the text with the shape I used a function called text wrap.

The process to do this is very similar to the clipping mask, as I did there, you have to select the base shape along with the text layer and go to object > text wrap > make.

image

By default this will wrap the text around the edge of the shape, in this case I wanted the text to be inside of the shape so I ticked the “Invert Wrap” box.

image

image

The text around the centre of the disc was created with the Type on Path tool, this allows you to curve text around a path, this is as simple as selecting the tool and then selecting the path.

The black background was created in the same way the rest of the circular shapes were created.

image

image

The only font used here is Arial

DVD Label: Final Image

export

DVD Label: Brush Tool


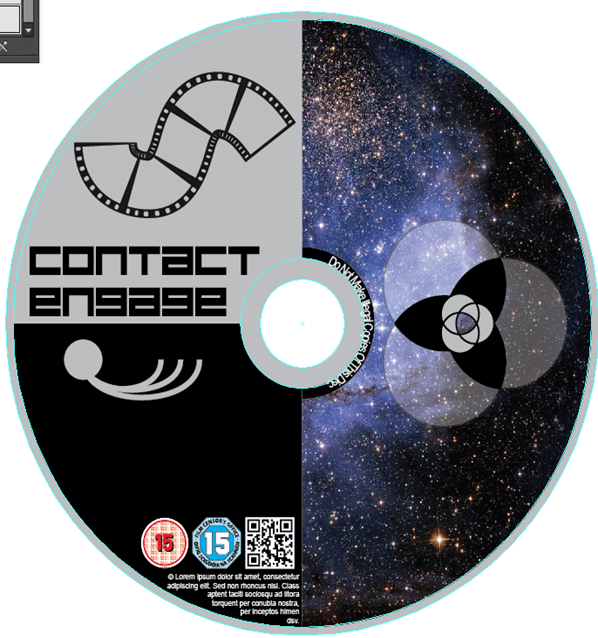
I decided that I wanted to try the brush tool in my design, so I looked online for a custom brush that would fit the theme of the label, I found this film, strip brush, so I downloaded it to try it above the title.

http://www.digitalartcorner.com/node/12

First step was to open the brush library's as pictured below.

image

I then copied the downloaded EPS file into the “artistic” folder.

image

The brush can then be selected, drawing is as easy as clicking and dragging, I then changed the colour to match the background.

image

I then decided to delete it, a simple design looked better..

DVD Label: QR Code (Live Trace)


I decided to add a QR code to the design, a QR code is similar to a bar code and can be read by smartphones, the code can be interpreted as a variety of things such as a social check in command or unlocking a feature within a specific app, in this case the QR code is just a link to a URL www.contactengage.com.

I initially used the QR generator at qrstuff.com  this tool allows a lot of customisation, but in this case I just stuck with the standard then downloaded the QR code to my PC.

image

qrcode.13251802

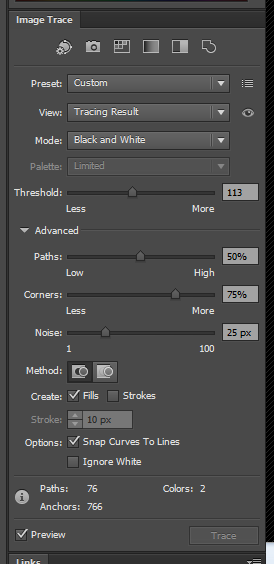
Once I downloaded the Image I pasted it into Illustrator I proceeded to vecotrise the image, To do this I used the Live Trace this tool is great for quickly changing a bitmap image into a vector image, to access this tool you can go to window > image trace, but I chose to change the layout to tracing as this brings up other relevant tools.

image

Once the Image Trace tool is visible, it’s best to choose the most relevant preset, this will pick the best starting point, the sliders can then be adjusted until the result looks as good as possible.

image

Often it is impossible to get a perfect image with this tool, as can be seen bellow a lot of the edges are at an angle, to get this perfect a professional would probably trace by hand with the pen tool, but this is a lot more time consuming, in this case I have tested the QR code and it is fully functional.

image

Google Goggles recognising the code.

Screenshot_2013-05-05-16-11-46